Introduction #
Scheduling tasks is an easy tool to use for automated actions on your server. From custom commands to restarts, this function will do it all for you. This is done by creating a schedule (in which you can set the ‘time’ it triggers its tasks), and in each schedule, you can create (multiple) actions which will be executed (these are called tasks).
Creating a schedule #
These steps can be repeated to add multiple schedules on a server.
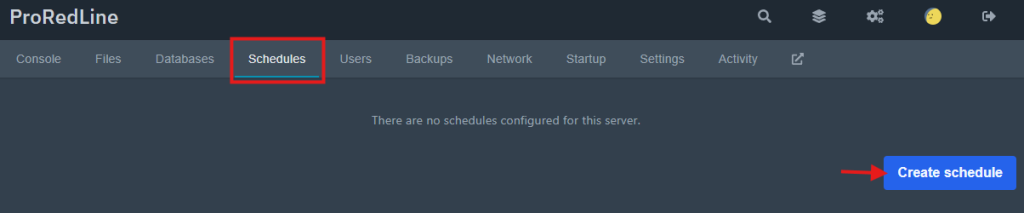
- Open your server’s dashboard and go to the ‘Schedules’ tab
- Click on the ‘Create schedule’ button
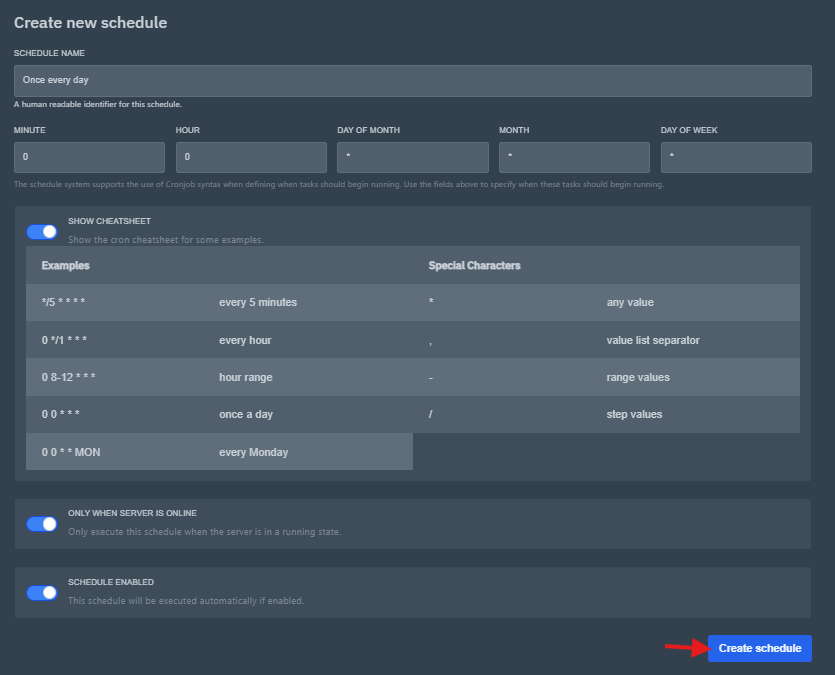
- A popup will appear with the schedule’s settings. Give this schedule a name.

- In this same popup, fill in when you want the schedule to run. Use the time sheet to understand the time options, or use this website to understand how it works and what each value does: https://crontab.cronhub.io/
- Optionally (de)select the option ‘Only When Server Is Online’, which only executes the schedule when the server is running, and the option ‘Schedule Enabled’, which enables the automatic triggering of the schedule
- Once finished with all of these settings, click ‘Create schedule’
- Your schedule has now been created!
Creating the tasks in a schedule #
- Click on the newly (or already existing) schedule under the ‘Schedules’ tab of your server’s dashboard.
- Click on the ‘New Task’ button.

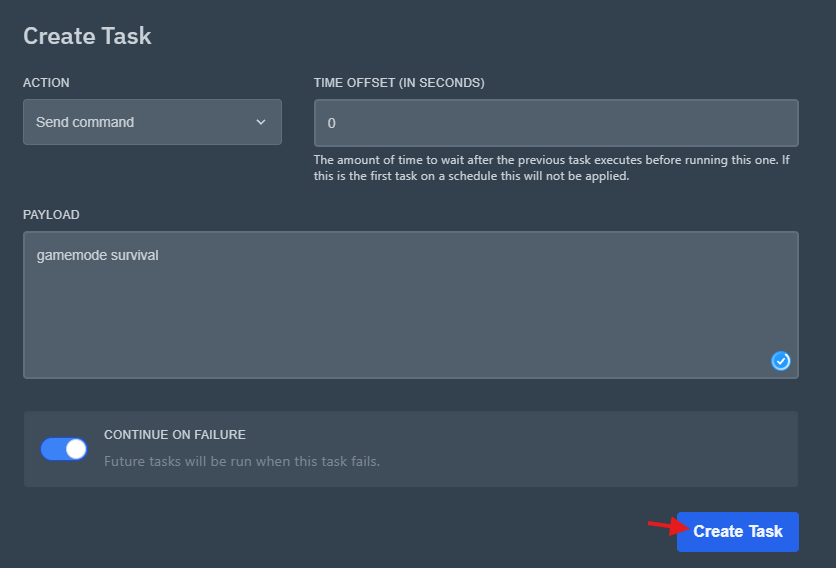
- A popup will appear with a couple of options and fields. First an ‘action’ needs to be selected. This is what each options mean:
- Send command: Sends a command to your (game) server’s console each time the schedule runs
- Send power action: Starts, Stops or Restarts your (game) server each time the schedule runs
- Create backup: Creates a backup each time the schedule runs. Deletes the oldest backup if you have reached the backups limit for your server.
- All of these actions have different options, here’s a quick explanation of each field.
- Send command:
- Time offset (in seconds): This is only handy if you run multiple tasks within the same schedule. This waits executing the action # seconds after the previous task started executing. Leaving this at 0 seconds means it will run at the same time as the previous task.
- Payload: This is the command which will be sent to the console. Enter the command exactly into this field how you would do it in the console.
- Continue on failure: If the task has failed for any reason, still execute the tasks which may come after this task.
- Send power action:
- Time offset (in seconds): This is only handy if you run multiple tasks within the same schedule. This waits executing the action # seconds after the previous task started executing. Leaving this at 0 seconds means it will run at the same time as the previous task.
- Payload: Select the power option you wish to be executed. There’s also a fourth option called ‘Terminate the server’. This option is like stopping your server, but not gracefully. This can lead to data corruption, so we do not recommend using this option in a task.
- Continue on failure: If the task has failed for any reason, still execute the tasks which may come after this task.
- Create backup:
- Time offset (in seconds): This is only handy if you run multiple tasks within the same schedule. This waits executing the action # seconds after the previous task started executing. Leaving this at 0 seconds means it will run at the same time as the previous task.
- Ignored Files: If you wish some files to be kept out of the backup, enter them in this field.
- Continue on failure: If the task has failed for any reason, still execute the tasks which may come after this task.
- Send command:
- Now click ‘Create Task’
- Your task has now been created! Repeat these steps to create additional tasks within the same schedule. Optionally click ‘Run Now’ if you wish to trigger the schedule now instead of waiting for the automatic schedule to run.

Still need help after reading this article?