Introduction #
Creating backups is a crucial thing for server hosting. Got hacked? > Restore backup. Misconfigured something? > Restore backup. You probably get it now, but therefore you will find information about creating (automatic) backups and restoring them in this doc.
Manually Creating Backups #
Creating manual backups is recommended to make use of before you edit any files or settings of your server. This is how:
- On your server’s dashboard, go to the ‘Backups’ tab.
- There you will find a blue button on the right bottom corner labelled ‘CREATE BACKUP’, click on this button.
- A popup will show. First, optionally give the backup a name for internal reference.
- Optionally enter files and/or directories you don’t want to backup. If this field is left empty, it means all files and directories will be backed up.
- Optionally select if you want this backup to be locked. This prevents deletion of the backup until it’s manually unlocked again. This can come in handy if you also use the automatic backups feature, but don’t want this manual backup to be overwritten/deleted.
- Click on the ‘START BACKUP’ button on the bottom right of the popup.
- The backup is now being created. Backup times depend on the total size of your files and directories.
Automatic Backups #
Note: This section does not cover how to create schedules & tasks. Instead, this section focuses on what happens behind the scenes when your scheduler creates backups, and how backup limits are handled. Please read the following article on more information on schedules & tasks:
What Does the Automatic Backup Task Do? #
When you add a “Create backup” action to a scheduled task in the Game Panel of your server, the following process occurs:
- At the configured time, the scheduler triggers the task (if the schedule is enabled and conditions such as “Only When Server Is Online” are met).
- The system creates a complete snapshot of your server’s data (files, configuration, and other relevant content), unless you’ve specified exclusions in the Ignored Files field.
- The new backup is stored until manually or automatically deleted.
- If your server has reached its backup limit, the oldest backup is automatically deleted to make room for the new one. This ensures that your backup storage remains within its allocated space.
- Once the process completes, the latest backup appears in your server’s Backups tab and can be used for restore at any time.
How It Works (Technical Overview) #
When the Task Scheduler runs a backup task:
- It checks the server’s current number of existing backups.
- It compares that number with the maximum backup limit defined for the server.
- If the number equals or exceeds the limit: the oldest backup is deleted first.
- If not: the backup is created immediately.
- The new backup is then stored and indexed in the Game Panel for restore or manual download.
Each backup action may also include:
- Time Offset (seconds): Defines a delay when multiple tasks exist in the same schedule.
- Ignored Files: Lets you skip files or directories from the backup.
- Continue on Failure: Determines if the schedule should continue even if this task fails.
Best Practices #
- Backup Frequency: Choose a schedule appropriate for your server’s activity level (e.g., every 24 hours for active game servers).
- Exclude Unnecessary Data: Use Ignored Files to skip logs, caches, or temporary files.
- Test Restores: Regularly test restoring a backup to ensure reliability.
Automatic backups created through the Task Scheduler provide a reliable, self-maintaining data protection mechanism.
By automatically removing the oldest backup when the limit is reached, your server stays both safe and optimized for storage efficiency.
With the right scheduling frequency and retention policy, you can ensure that your data is always recoverable without manual cleanup or intervention.
Restoring from Backup #
Restoring a backup allows you to revert your server to a previous state in case of data loss, corruption, or configuration errors. All restore actions are performed directly inside the server’s Backups tab.
Where to Find Your Backups #
- Open your server in the Game Panel.
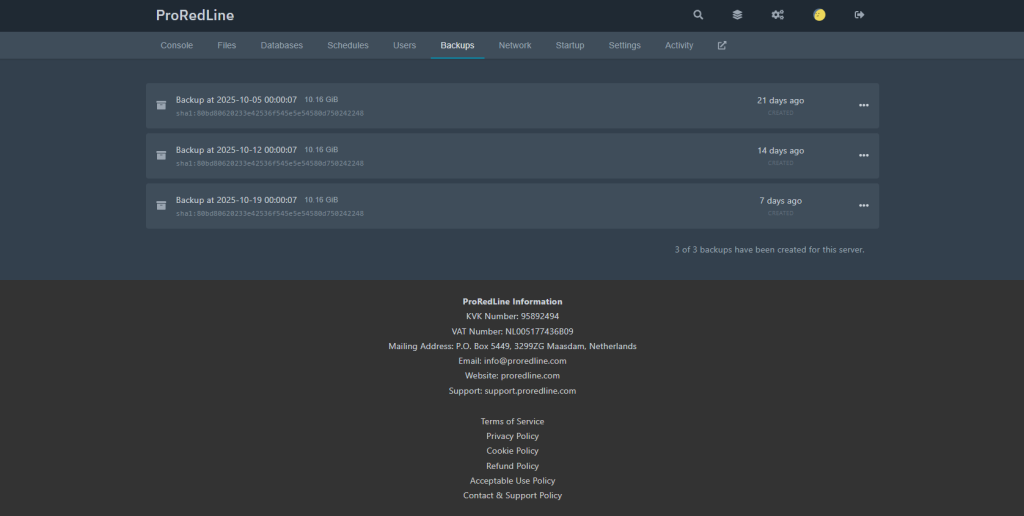
- Navigate to the Backups tab in the navigation bar.
- You will see a list of all available backups, each showing the date and time of creation.
How to Restore a Backup #
- Locate the backup you want to restore.
- Click on the three dots (⋮) next to it.
- Select Restore from the dropdown menu.
- A confirmation window will appear with the following message:
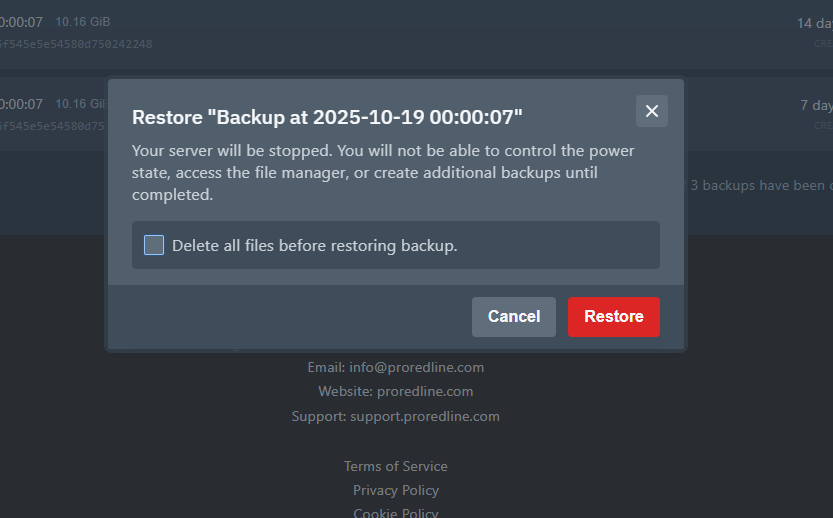
- The popup gives you an option to “Delete all files before restoring backup.” It is strongly recommended to enable this option. This ensures that no old or conflicting files remain on the server, providing a clean restore environment.
- Click Restore to start the process. The server will automatically shut down during the restoration. Additionally while restoring, you cannot start, stop, or access the file manager.
- Open the Console tab to see live progress of the restoration. The Game Panel Console will display messages showing which files are being restored.
- After the restoration is complete, your server can be started again normally. All files from the selected backup are now active and your environment has been fully reverted to that point in time.
Still need help after reading this article?